Is your gaming rig a rat’s nest of wires? Does your remote work setup resemble a spaghetti factory under the desk? A chaotic cable situation isn’t just unsightly; it can snag on your feet, accumulate dust, and even hinder the airflow around your electronics. For dedicated gamers, streamers, and remote workers, a clean, organized workspace is crucial for focus and efficiency.
The problem is the sheer volume of cables required for modern setups – power bricks, monitor cables, USB hubs, and audio lines all contribute to the mess. The solution lies in a robust, out-of-sight system that corrals everything neatly. That’s where an Under Desk Cable Management Tray comes in. It’s the ultimate upgrade for a truly minimalist and functional desk.
Ready to banish the cable chaos? Here’s a simple, step-by-step guide to installing an under desk cable management tray and reclaiming your workspace.
What You’ll Need:
Before you begin, gather your tools:
- Under Desk Cable Management Tray: We’ll be focusing on a tray like the Under Desk Cable Management Tray – 2 Pack Steel Wire Cable Organizer.
- Drill: With a drill bit appropriate for your desk material (wood, particle board, etc.) and screw size.
- Screwdriver: To match the screws provided with your tray.
- Pencil or Marker: For marking drill points.
- Measuring Tape: To ensure proper placement.
- Zip Ties or VELCRO Brand ONE-WRAP Cable Ties: For bundling cables. You can find these here: VELCRO Brand ONE-WRAP Cable Ties – Reusable and Adjustable Cable Straps.
- Optional: Power Strip: To centralize your power needs within the tray. Consider the D-Line Cable Management Box if you want to also hide your power strip in a box on top of the tray.
Step-by-Step Installation:
Step 1: Clear and Plan Your Workspace
First, unplug everything from your desk and remove any existing cable clutter. Take a moment to assess your setup. Where do your monitor cables go? Where’s your PC located? Visualize where the power strip will sit in the tray and how cables will route to it. This planning saves time later.
Step 2: Position and Mark the Tray
Carefully place the cable management tray(s) under your desk. Consider:
- Location: Typically, trays are mounted towards the back edge of the desk, but ensure it’s easily accessible for plugging things in.
- Clearance: Make sure it won’t interfere with your legs, chair, or any desk drawers.
- Power Outlet Proximity: Position it so your power strip (if using one in the tray) can easily reach your wall outlet.
Once you’ve found the ideal spot, use your pencil or marker to mark the screw holes of the tray’s mounting brackets on the underside of your desk. Double-check your measurements to ensure it’s straight and evenly spaced.
Step 3: Drill Pilot Holes
Using your drill with the appropriate bit, carefully drill pilot holes at each marked point. Pilot holes prevent your wood from splitting and make screwing much easier. Ensure the drill bit size is slightly smaller than the screws you’ll be using. Drill only deep enough to accommodate the screw length.
Step 4: Mount the Cable Tray
Align the cable management tray’s mounting brackets with the pilot holes. Insert the screws and securely fasten the tray to the underside of your desk using your screwdriver. Make sure it’s snug and doesn’t wobble.
Step 5: Route and Bundle Your Cables
Now for the fun part: tidying up!
- Place your power strip inside the newly mounted tray.
- Begin routing your cables. Start with the longest, thickest cables (like monitor power and display cables) and work your way down to smaller peripheral cables.
- Feed cables into the tray and plug them into your power strip or directly into your PC/peripherals as needed.
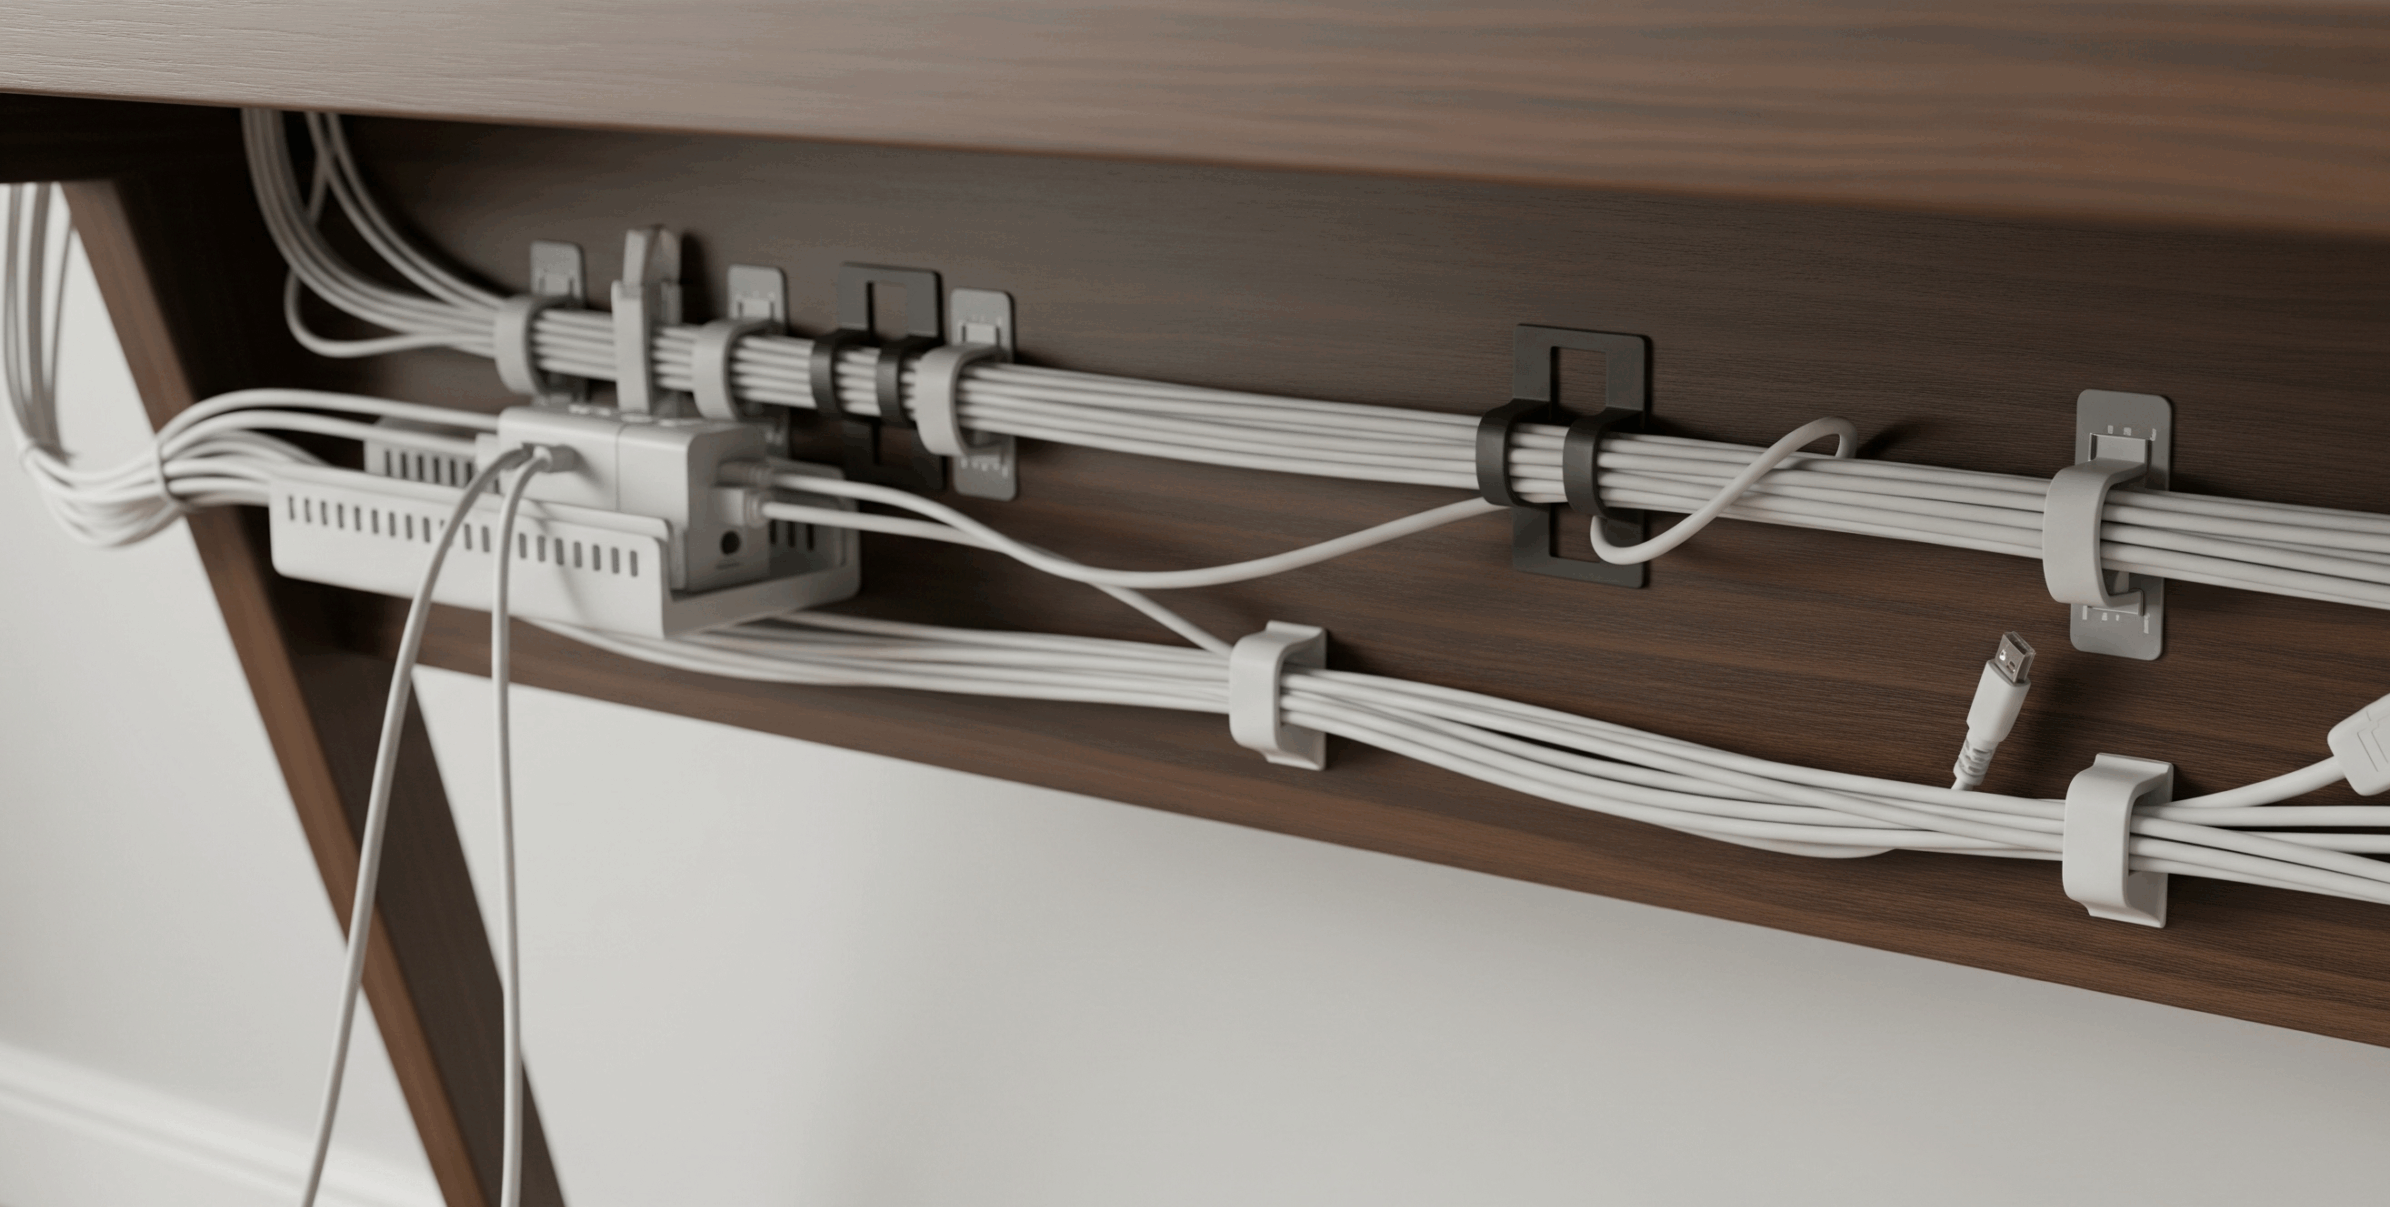
- Use your VELCRO Brand ONE-WRAP Cable Ties or zip ties to bundle cables together neatly. This makes them easier to manage, improves airflow, and looks much cleaner. Bundle similar cables together (e.g., all monitor cables, all USB cables).
- Ensure there’s enough slack for movement (like adjusting your monitor) but not so much that it creates new tangles.
Step 6: Final Review
Stand back and admire your work! Check that all cables are securely contained, no wires are dangling precariously, and your desk surface is now completely clear. Plug everything back in and ensure all your devices are powered on and working correctly.
Synopsis:
Transforming your desk from a cable nightmare to an organized dream is a rewarding upgrade that significantly boosts your productivity and aesthetic. While various tools can assist, the Under Desk Cable Management Tray stands out as the fundamental solution for achieving a truly clean and efficient workspace. By following these simple steps, you can seamlessly integrate this robust organizer into your setup, centralizing clutter and providing a streamlined look that screams “forward tech.” It’s a permanent, effective solution that gets those unsightly wires out of sight and out of mind, leaving you with a perfectly tidy and functional battle station or office.
As an Amazon Associate, I earn from qualifying purchases.